.jpg)
Get Started with Trezor.io/Start (Version 22.9.3)
Trezor.io/start (Version 22.9.3) is your gateway to securing your cryptocurrency assets. By using Trezor wallet, you ensure top-notch security for your digital investments. Visit Trezor.io/start to begin your journey with the most trusted hardware wallet on the market.
Why Choose Trezor.io/Start?
Trezor.io/start offers unparalleled security features, making it the go-to choice for crypto enthusiasts. With Version 22.9.3, setting up your Trezor wallet is easier than ever before. For more details, check out Trezor’s official site.
Features of Trezor.io/start (Version 22.9.3)
- Simple setup process
- State-of-the-art security
- Support for multiple cryptocurrencies
- Regular firmware updates
FAQs
How do I start with Trezor.io/start?
Visit Trezor.io/start and follow the easy setup instructions provided.
What are the supported cryptocurrencies?
Trezor.io/start supports Bitcoin, Ethereum, and many other altcoins.
Is Trezor.io/start secure?
Yes, Trezor.io/start (Version 22.9.3) uses advanced security measures to protect your assets.
How often is the firmware updated?
Trezor regularly releases firmware updates to improve security and add new features.
Where can I find more information?
Visit Trezor.io/start for more information and detailed guides.
Getting Started: Visiting Trezor.io/Start
The journey to securing your digital assets begins at Trezor.io/Start. This webpage is your go-to resource for setting up your Trezor hardware wallet and ensuring that you are taking all the necessary steps to protect your investments. The process is designed to be user-friendly, even for those who may not be tech-savvy. Here's a step-by-step guide to getting started with your Trezor wallet.
Step 1: Unboxing Your Trezor
Once you have purchased your Trezor hardware wallet, the first thing you will need to do is unbox it. Inside the box, you will find the Trezor device itself, a USB cable for connecting it to your computer, a recovery seed card, and a user manual. It's important to ensure that the box is sealed and has not been tampered with. If you notice any signs of tampering, do not use the device and contact Trezor support immediately.
Step 2: Connecting Your Trezor to Your Computer
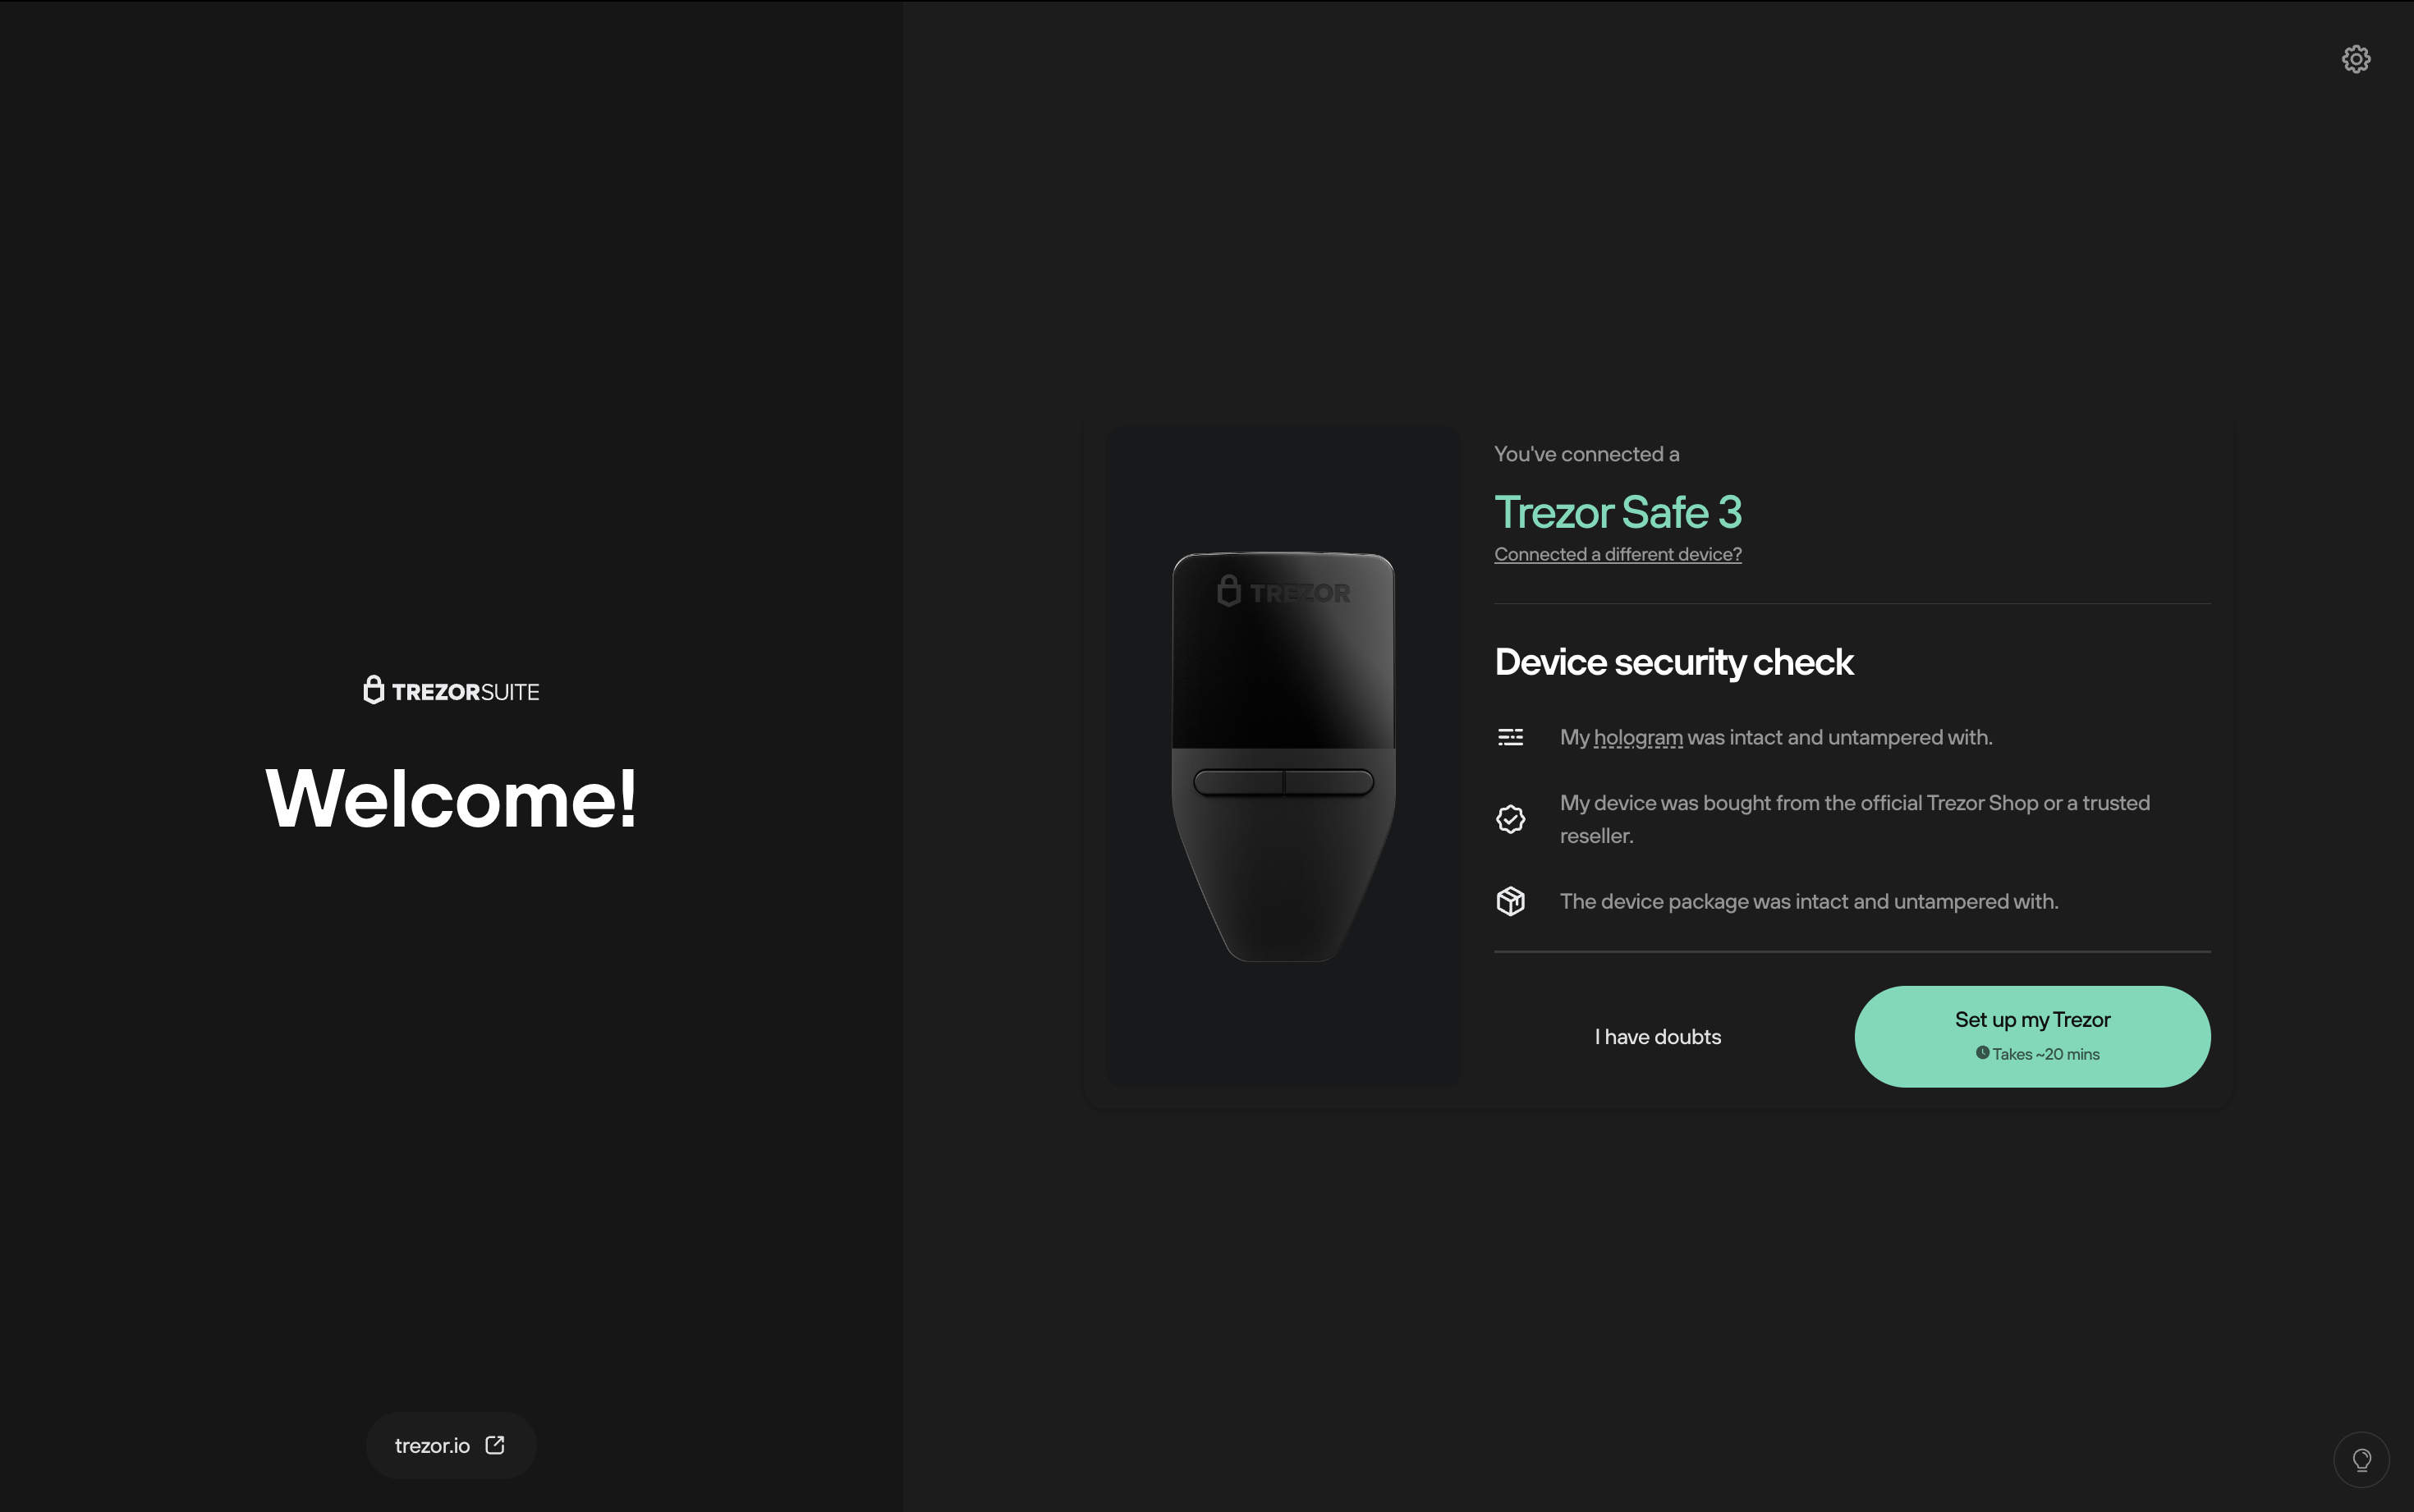
After unboxing your Trezor, the next step is to connect it to your computer using the provided USB cable. Once connected, your computer should recognize the device automatically. If this is your first time using a Trezor wallet, you will be prompted to visit Trezor.io/Start to begin the setup process.
Step 3: Installing the Trezor Bridge
To communicate with your Trezor device, you will need to install the Trezor Bridge software on your computer. This software acts as a bridge between your Trezor wallet and your web browser, allowing you to access your wallet's interface securely. The Trezor Bridge can be downloaded directly from Trezor.io/Start, and installation is quick and straightforward. Once installed, you are ready to proceed to the next step.
Step 4: Setting Up Your Trezor Wallet
With the Trezor Bridge installed, it's time to set up your Trezor wallet. Follow the on-screen instructions provided at Trezor.io/Start to create a new wallet. During this process, you will be asked to choose a PIN for your device. This PIN will be required each time you connect your Trezor to your computer, adding an additional layer of security to your wallet.
Step 5: Generating Your Recovery Seed
One of the most important steps in setting up your Trezor wallet is generating your recovery seed. The recovery seed is a list of 12 or 24 words that can be used to restore your wallet in case your Trezor device is lost, stolen, or damaged. It's crucial to write down your recovery seed on the provided card and store it in a safe place. Do not store your recovery seed digitally or share it with anyone, as this could compromise the security of your wallet.
Step 6: Adding Cryptocurrencies to Your Trezor Wallet
With your Trezor wallet set up and your recovery seed securely stored, you are now ready to add cryptocurrencies to your wallet. The Trezor wallet supports a wide range of digital assets, and you can manage them all from the Trezor Suite, the wallet's intuitive interface. To add cryptocurrencies, simply transfer them from your existing wallet or exchange account to your Trezor wallet's public address. The process is straightforward, and you can monitor the progress of your transactions directly from the Trezor Suite.
Step 7: Managing Your Assets with Trezor Suite
Trezor Suite is the software that allows you to manage your cryptocurrencies, view your transaction history, and perform other tasks related to your digital assets. The Trezor Suite interface is user-friendly and designed to provide a seamless experience, even for those who are new to cryptocurrency. From within Trezor Suite, you can send and receive cryptocurrencies, exchange them for other assets, and even track the value of your portfolio in real-time. The software also offers advanced features for more experienced users, such as support for custom fees and coin control.
Step 8: Staying Secure
Now that your Trezor wallet is set up and your assets are securely stored, it's important to maintain good security practices. Always ensure that your Trezor device is stored in a safe place when not in use. Be cautious of phishing attempts and only interact with trusted websites. Remember that your recovery seed is the key to your wallet; if someone gains access to it, they can take control of your funds. Regularly check for updates to the Trezor firmware and Trezor Suite software to ensure that you are protected by the latest security features.